

PELVIC FLOOR
It’s important for everyone to have strong Pelvic Floor muscles but post-baby is THE most important time in your life to pay attention to them. One in three women suffer from some form of incontinence post-childbirth and if you have delivered even one baby with tearing, stitches, or instrumental delivery then you have a higher risk of developing pelvic floor problems.
The Pelvic Floor muscles cover all the area between your sitting bones, coccyx (tail bone) and pubis (the bone at the front). It’s a sling (like a trampoline) that runs from front to back and as they contract, the pelvic floor draws in and lifts. A lot of women are unaware of even where these muscles lie, let alone how to correctly switch them on. Alternatively, others try too hard when learning pelvic floor exercises and end up tightening the waist, thighs, and glutes instead and conversely, some women are so “switched on” all the time, they can’t relax the muscles or let go, which actually makes them weak too.
Unfortunately, the pelvic floor will not spontaneously strengthen with general exercise or Pilates unless it is already correctly functioning. So, let’s learn how to identify the muscles, some exercises to specifically strengthen (and relax them!) and then learn how to move the body while they are activated.
Different visualisations work for different people. I like the one of imagining a pebble dropping into water and watching as the ripples spread outwards, now imagine you are drawing those ripples back in and lifting the pebble up internally, keeping your buttocks, thighs and abdominals relaxed. Try to hold the contraction for 10 seconds while breathing normally. Then drop the pebble and push out with the ripples to relax fully in between. Repeat 10 times daily.
After a natural birth, take 24 hours rest and then start gentle tensioning (for a C-section, wait until your stitches have been removed). In the early learning stage, you must forget about strength and focus on a very slow, drawing action. If you are tensioning correctly, you will feel your lower abdominal wall gently tension back (above your pubic bone) and if you go too hard or too fast your waist will take over.
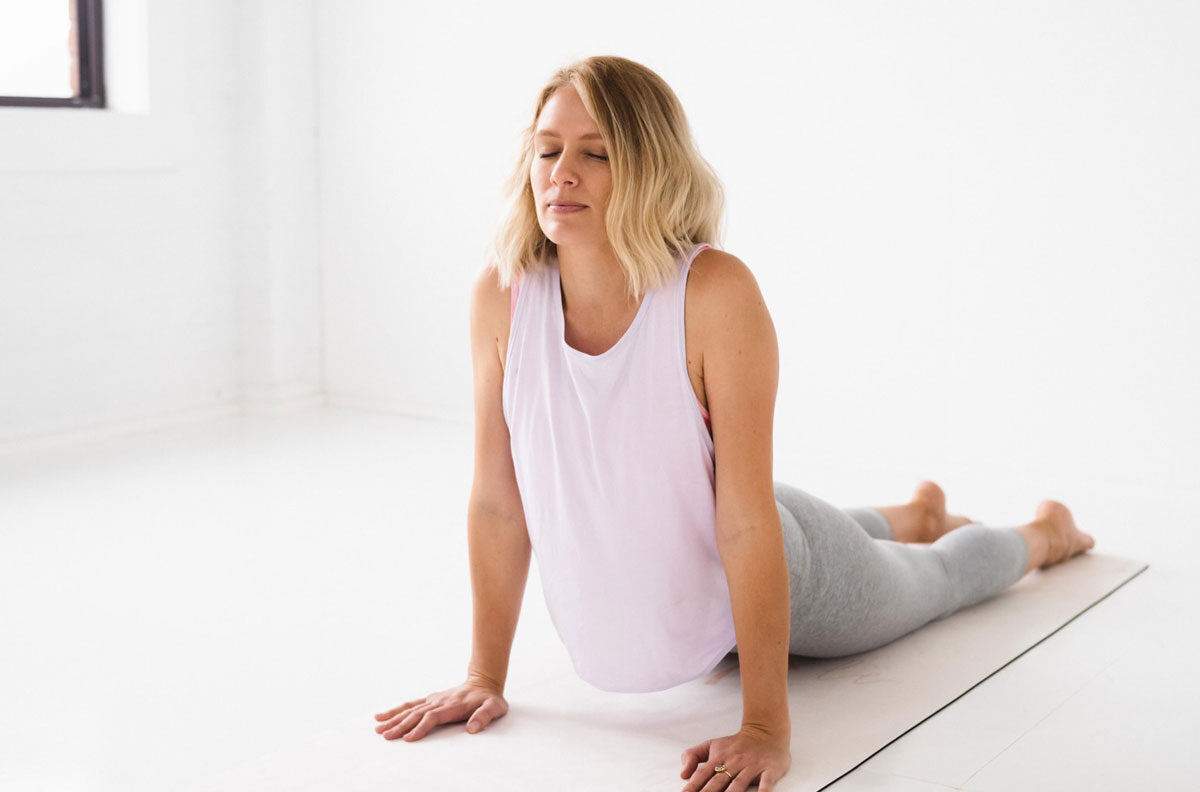
It’s important to practice these exercises in different positions (standing, seated, kneeling, lying on back/tummy).Once you feel you are tensioning correctly, you may progress to adding movement while holding the contraction with the seven exercises below.
1. Pelvic Tilts
Lying on your back in a neutral spine position, knees bent, feet flat on the floor, lift and engage your pelvic floor (as above) and your transverse abdominis (TA) by tensioning across the hips (imagine sliding your hips in toward each other). Holding this position, tuck the pelvis under, flattening your spine to the mat, then do the complete reverse movement, tilting the pelvis forward and creating a bigger arch through the lower back. Keep “rocking” the pelvis forward and back, being sure to keep the head and shoulders stable and using the abdominals to control the movement (not the legs). If you place the pelvis in between these two positions, you will then be in neutral.
2. Supine Bridge Rolls
Start as above with the pelvic tilt by tucking the pelvis under, flattening your spine to the mat, then continue to slowly peel and roll up through each vertebra, lifting the tail bone first, rolling through the mid and upper back until just the head and shoulders are on the mat. Inhale at the top and then slowly reverse as you exhale, taking the pelvis back to neutral before you repeat. 4-6 reps
3. Arm Raises
Lying on your back in a neutral spine position, knees bent, feet flat on the floor, lift and engage your pelvic floor and TA. Holding this position, float one arm up and over your head (only so far that you can keep the connection).Alternate arms and repeat for 10 reps.
4. Leg Floats
Lying on your back in a neutral spine position, knees bent, feet flat on the floor, lift and engage your pelvic floor and TA. Holding this position, float one leg up into table top (bent knee at 90 degrees in line with your hip).Slowly lower and then lift the other leg, ensuring you’re not shifting your weight or rocking the pelvis from side to side. Alternate legs for 10 reps.
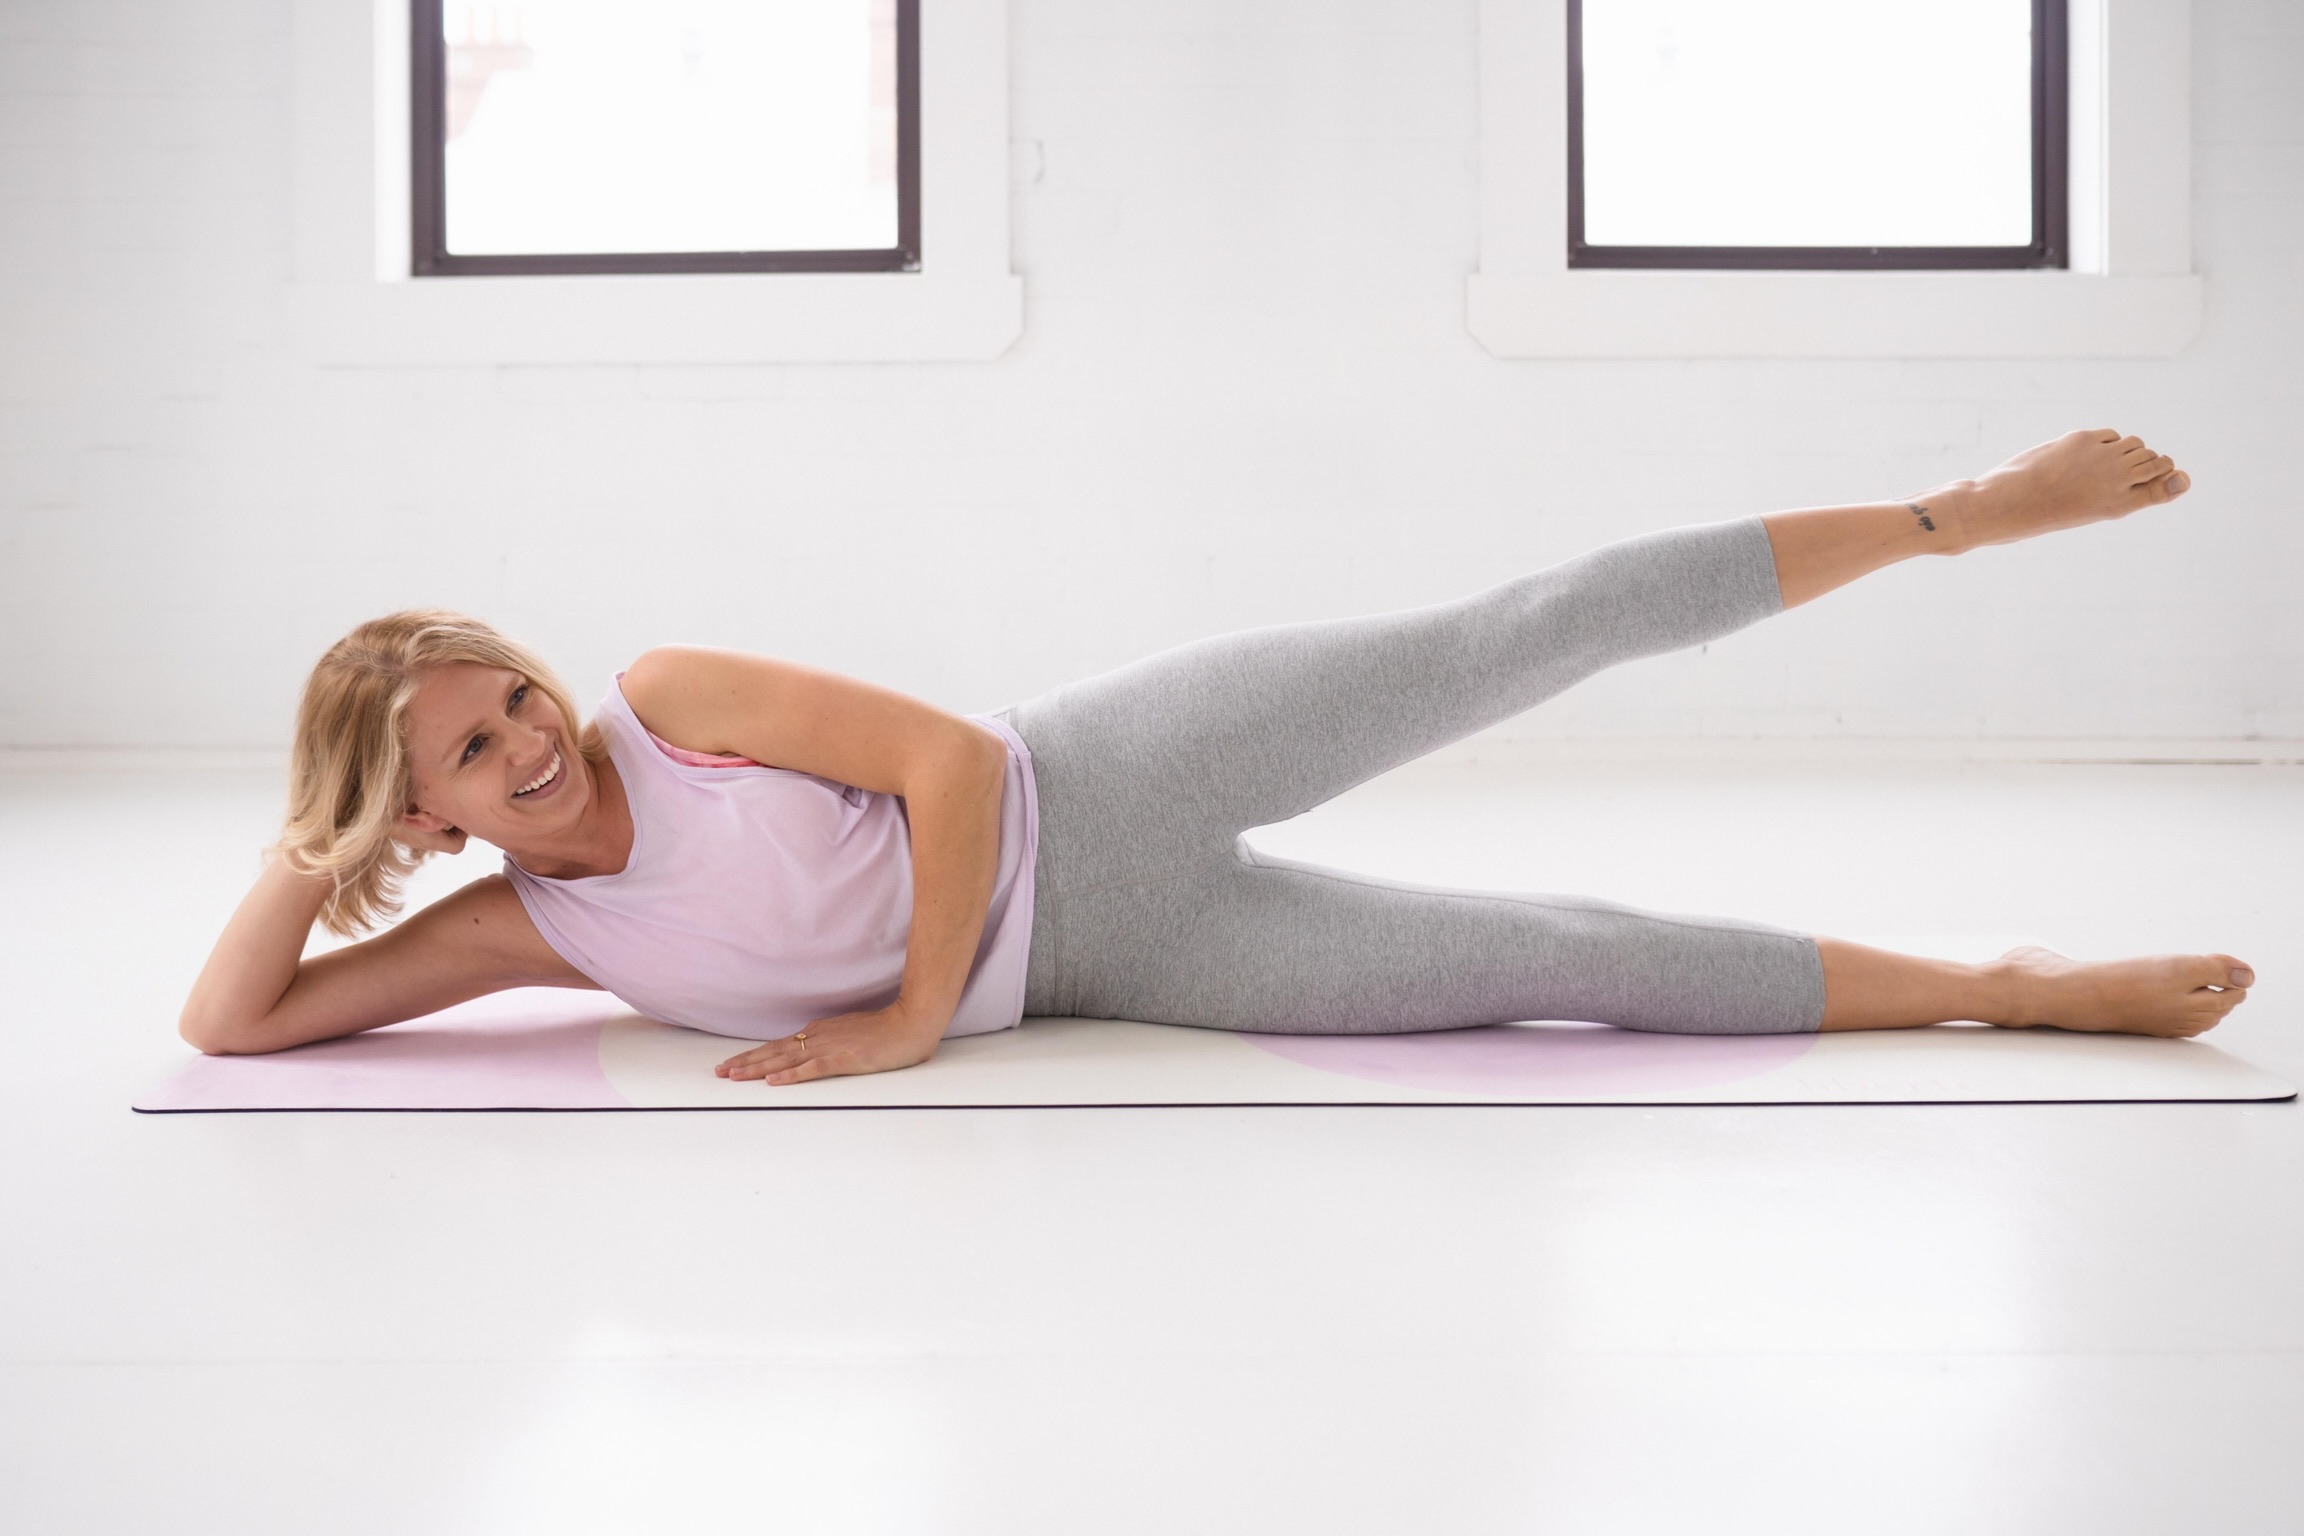
5. Hip Openers
Lying on your back in a neutral spine position, knees bent, feet flat on the floor, slowly drop one knee out to the side, as far as you can keep the pelvis stable, holding the pelvic floor and TA connection, slide your leg out straight, draw the leg back to the centre line of the body and slide back to the start position of bent knee. Repeat on other leg and continue to alternate for 10 reps (5 each leg).
6. Back Extension
Lying on your stomach in a neutral spine position (two hip bones and pubic bone pressing into the mat), hands underneath your forehead, lift the pelvic floor and tension across your hips and lift the upper body and hands off the mat, only so far that your hands stay attached to your forehead. Think about lengthening as you lift. Return to start position and repeat for 10 reps.
7. Four-point kneeling Superman
Start on all fours, hands under your shoulders and knees under your hips, lift pelvic floor and engage TA, slowly lift one arm and the opposite leg, keeping the weight central to the mat and not leaning to one side, slowly lower and alternate opposite sides. Repeat for 10 reps without rocking side to side and keeping hips level
Let us know via email if you need any further help with these exercises.


ADD COMMENT
You must be logged in to post a comment.